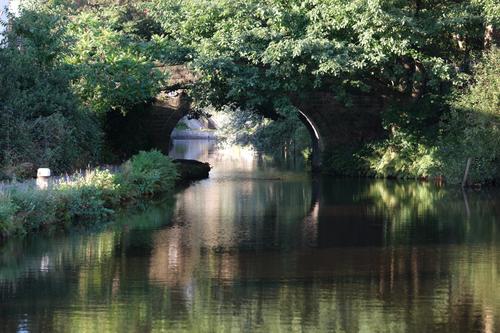
Some of you have said you wanted to see the 'before & after' pictures and a small explanation. Well, here's my attempt at what I took, what I did with it and what it ended up like. [Please do not edit the images, although you may use them in any quotes in this thread].
I wanted the water reflections and light off the bridge. The original felt a little bit underexposed and I didn't want that white thing at the side, so a bit of cropping and add to the exposure and contrast and the end result was this:
Next picture was this one. A view of the church through the trees.
I knew when I took it what I wanted. But I had the wrong lens with me so it needed a fair amount of cropping to get the church surrounded by the trees (but that is the advantage of a 40mp sensor - you can crop a lot at it still looks OK). Anyway, from the original, I ended up with this after cropping, editing and swapping the boring sky out for something better.
Next was this one. Church & wooden war soldier.
I once again knew what I wanted out of it - the hypocracy of the church 'hosting' a war statue. But the sky overpowered it a bit, so I had a fair amount of work to do. Not a perfect picture because the soldier was fairly damaged (vandals?), but I thnk it gets the point across.
Just crying out for B&W. But I felt it needed a touch of colour. So, new B&W layer in Photoshop and then erase the bits I wanted with colour. It's a shame I cut the top of the chimney off, but I didn't notice at the time.
Same idea with this picture of the Coach House
I think it works well. I wanted to crop it because the big tree and the door were distractions.
Lastly, a fun picture of what is a boring set of houses.
I cropped the street out, the reduced the saturation and increased the black. Added the sky and my bird to make it a bit of fun.
So, there you have it - what I did and why I did it. Feel free to comment (as long as it's about the pictures).
Alan


